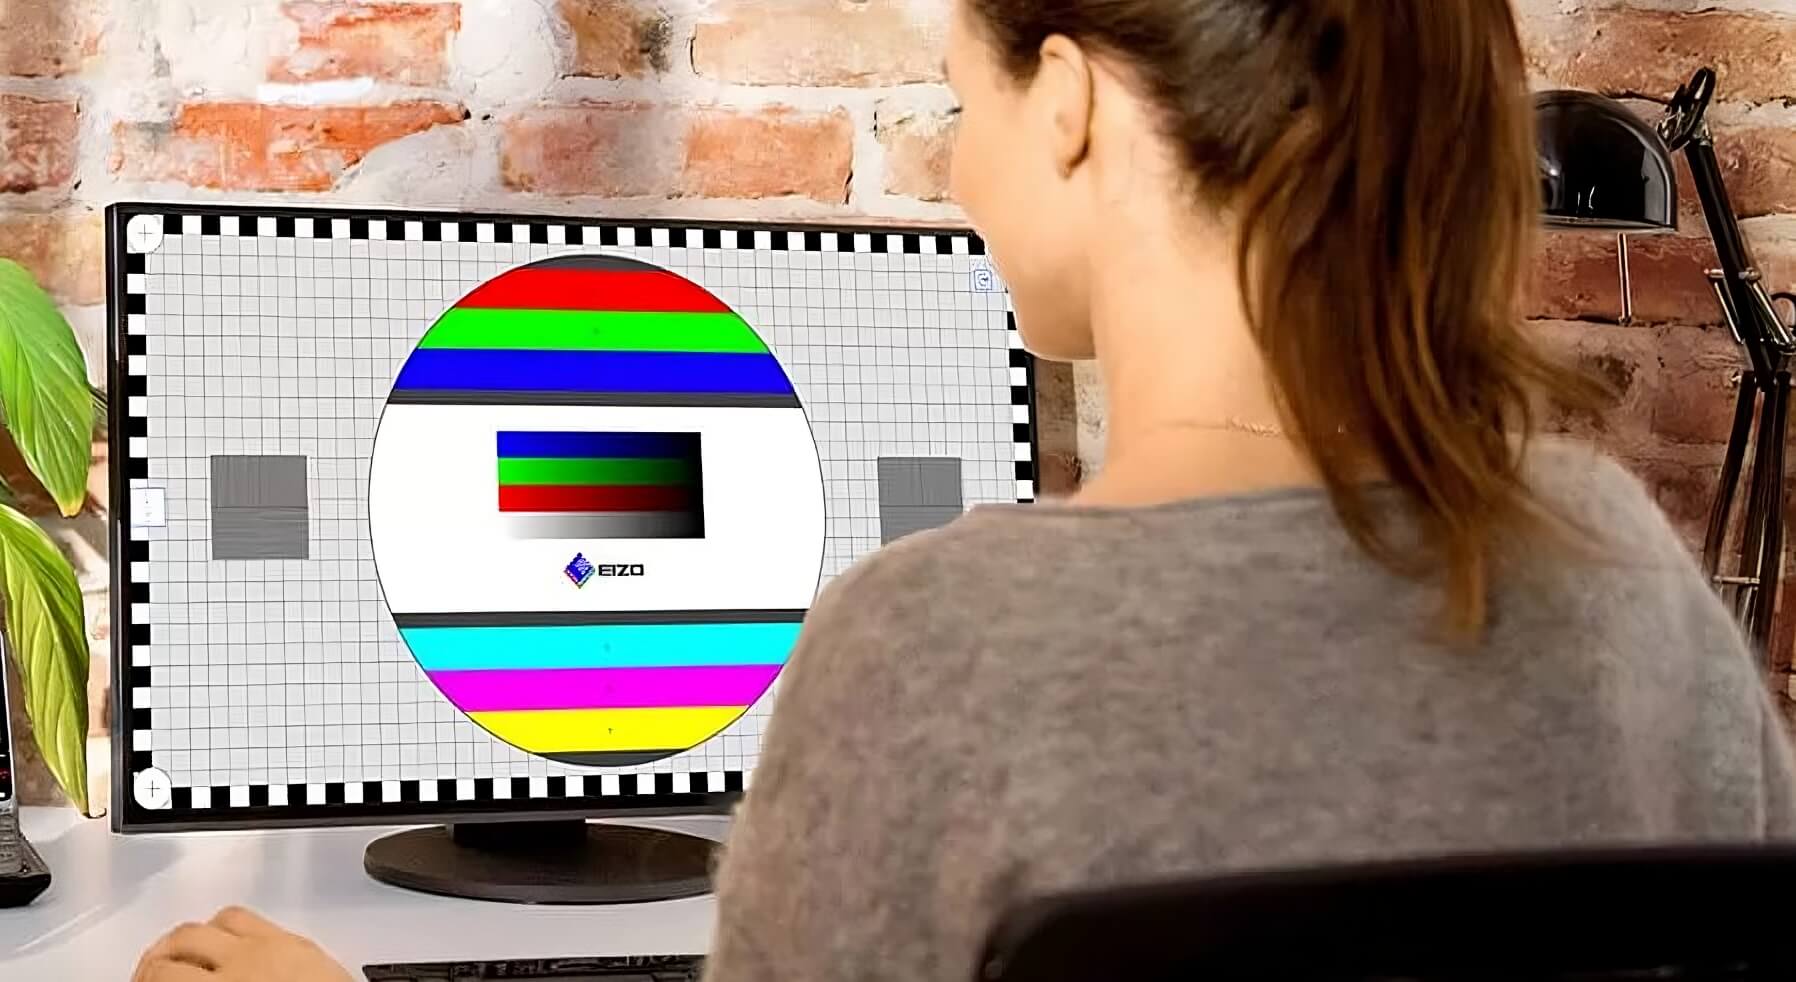
THE EIZO MONITOR TEST
The EIZO monitor test lets you quickly and easily assess your monitor’s image quality. You can carry out 13 individual tests to check how uniform the image display is across the entire monitor, for example, or if the text is displayed sharply. You can check your monitor for defective pixels and get a sense of its viewing angle stability. Put your monitor to the test now!
Software Solutions
Top of the line software solutions.
EIZO Tools
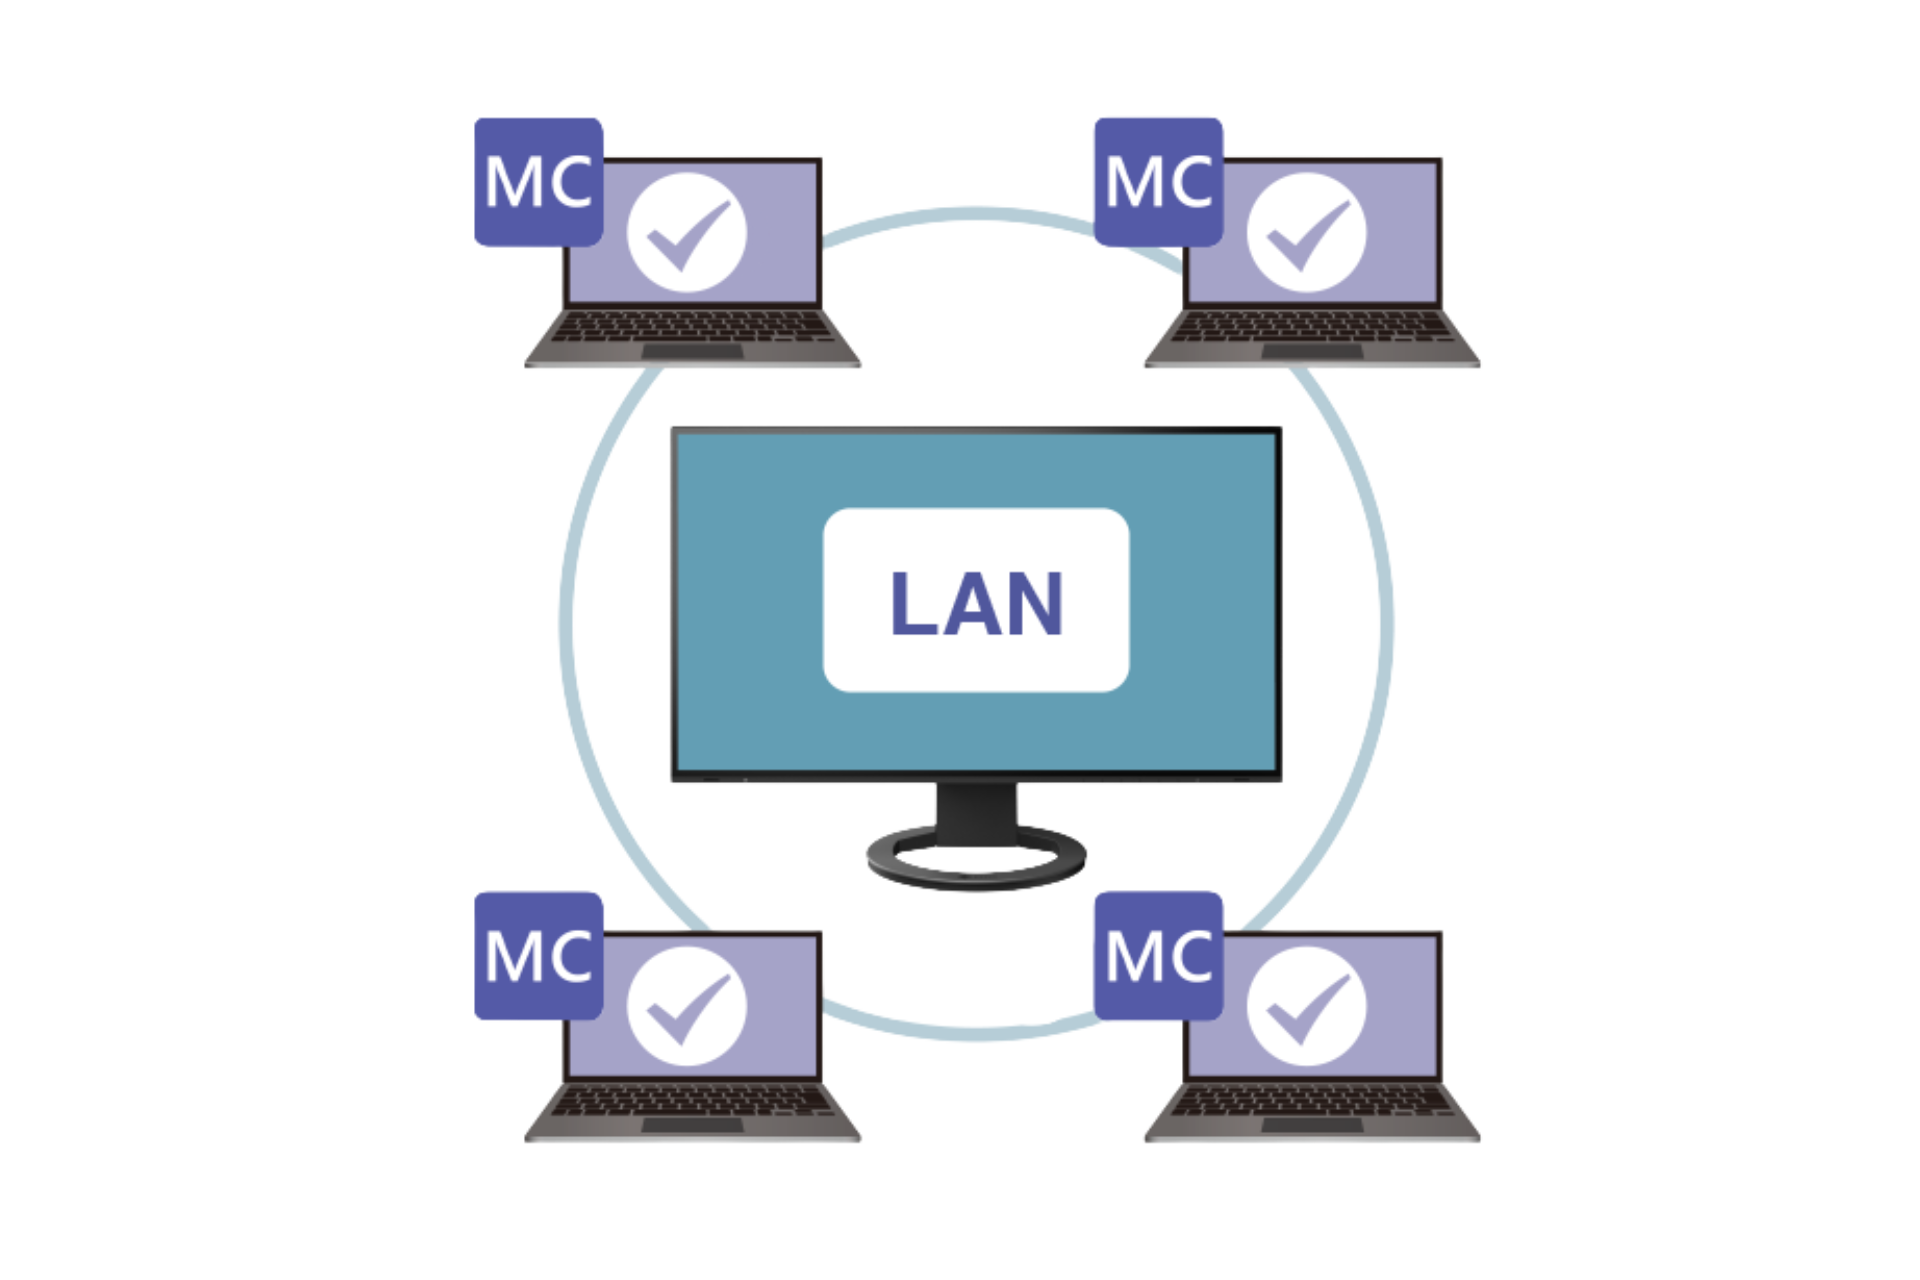
EIZO MAC Address Clone Utility for Windows OS temporarily sets the MAC address of your PC as the MAC address of an EIZO monitor equipped with a USB LAN adapter.

EIZO Tools
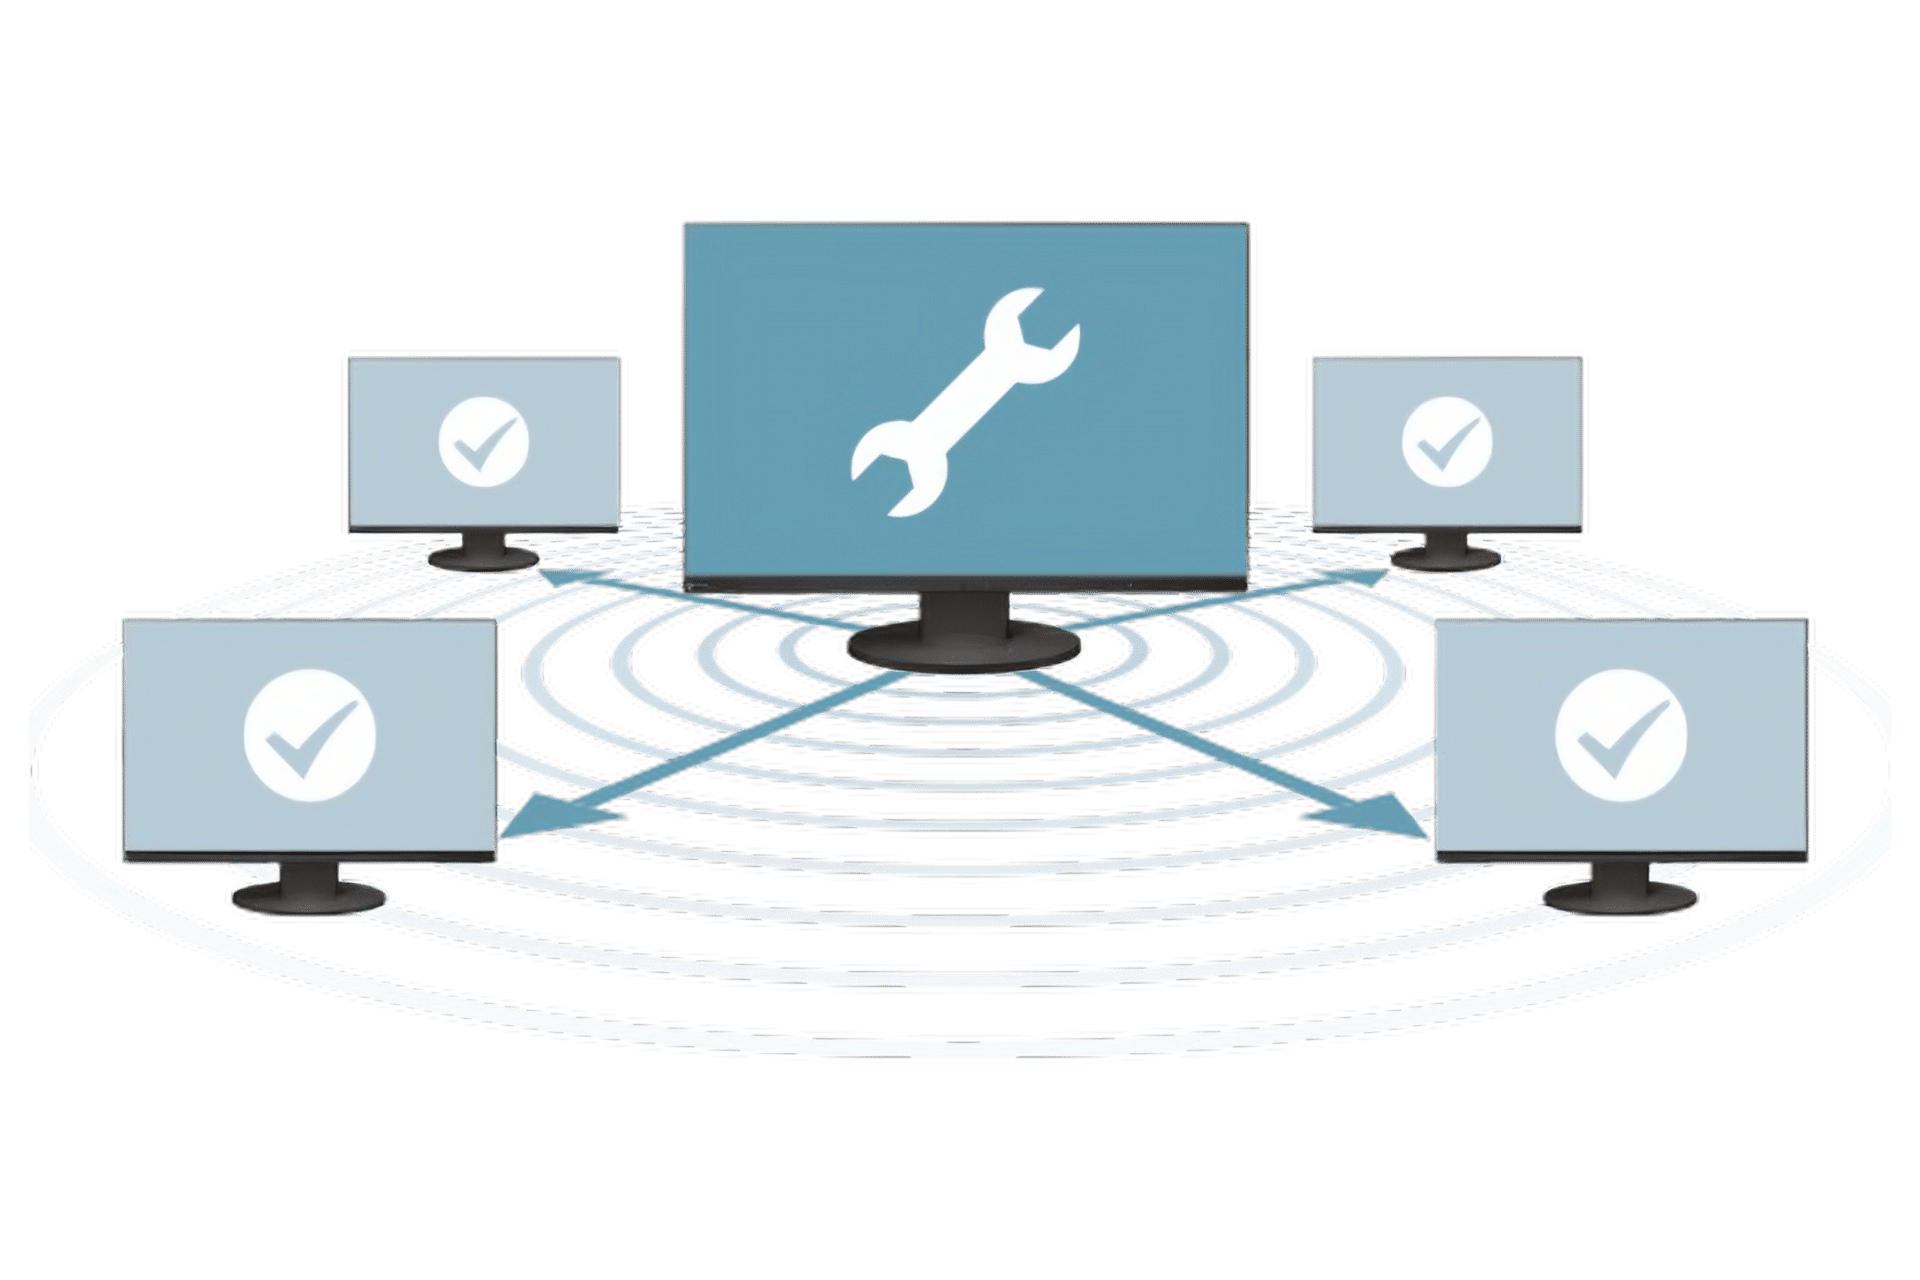
Screen InStyle Server is a server application that allows system administrators to manage and control monitors connected to the network.
EIZO Software
EIZO Screen InStyle software offers many useful functionalities that allow you to precisely configure your monitor so that you can make even better use of it.
EIZO Software
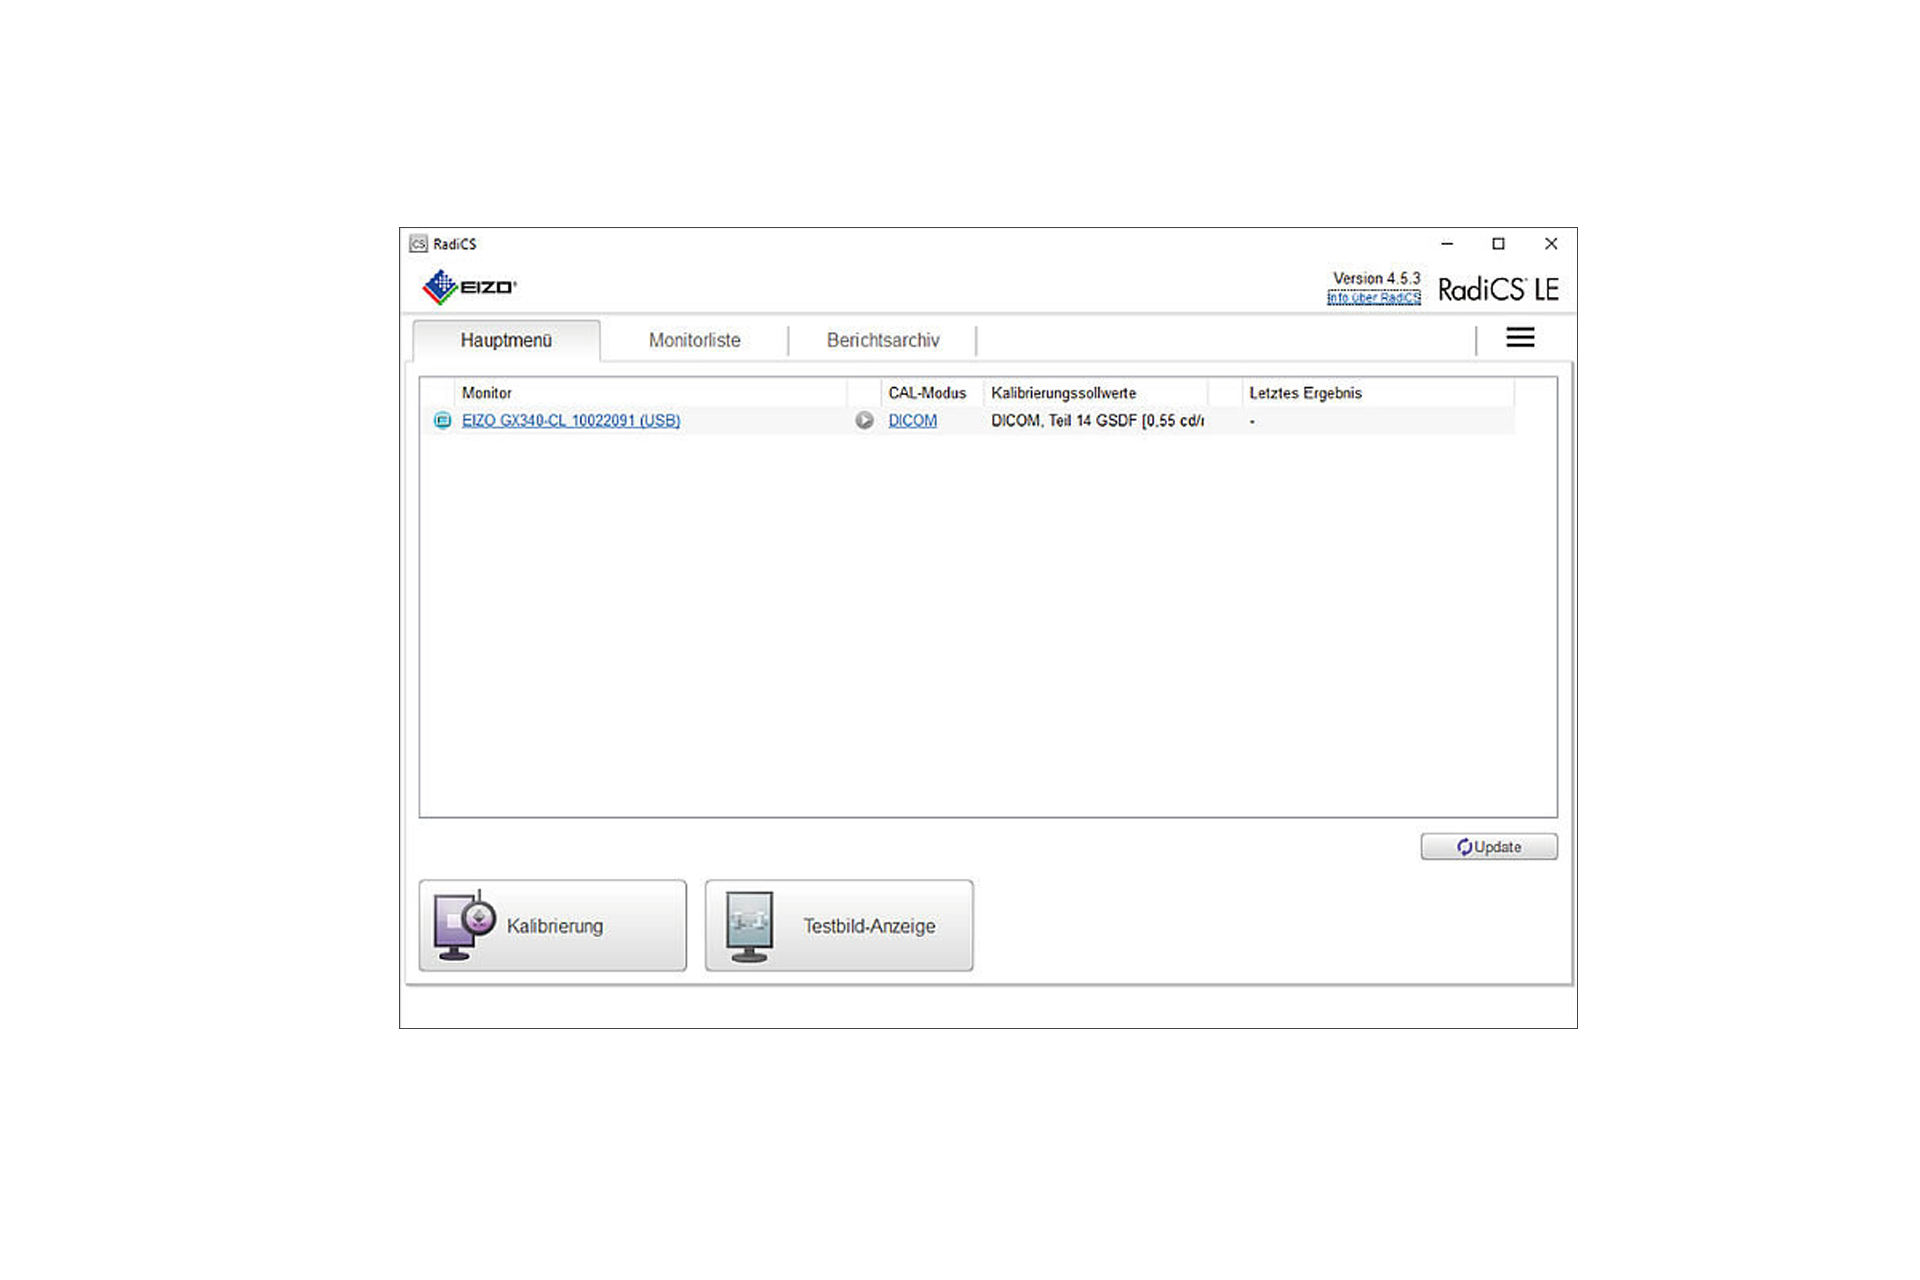
RadiCS LE quality control software calibrates EIZO RadiForce monitors and manages the calibration data.
EIZO Tools
The EIZO Motion Blur Checker (Beta) is demo software, which illustrates the reduction of motion blurring when using the Turbo 240 in the FG2421.
EIZO Software
Designed for network-wide settings, the EIZO Monitor Configurator makes installation quicker and easier if many or all of the monitors at a company need to have the same settings.

Network QC Management Server Provider
Network quality control server management for hospitals around the world.
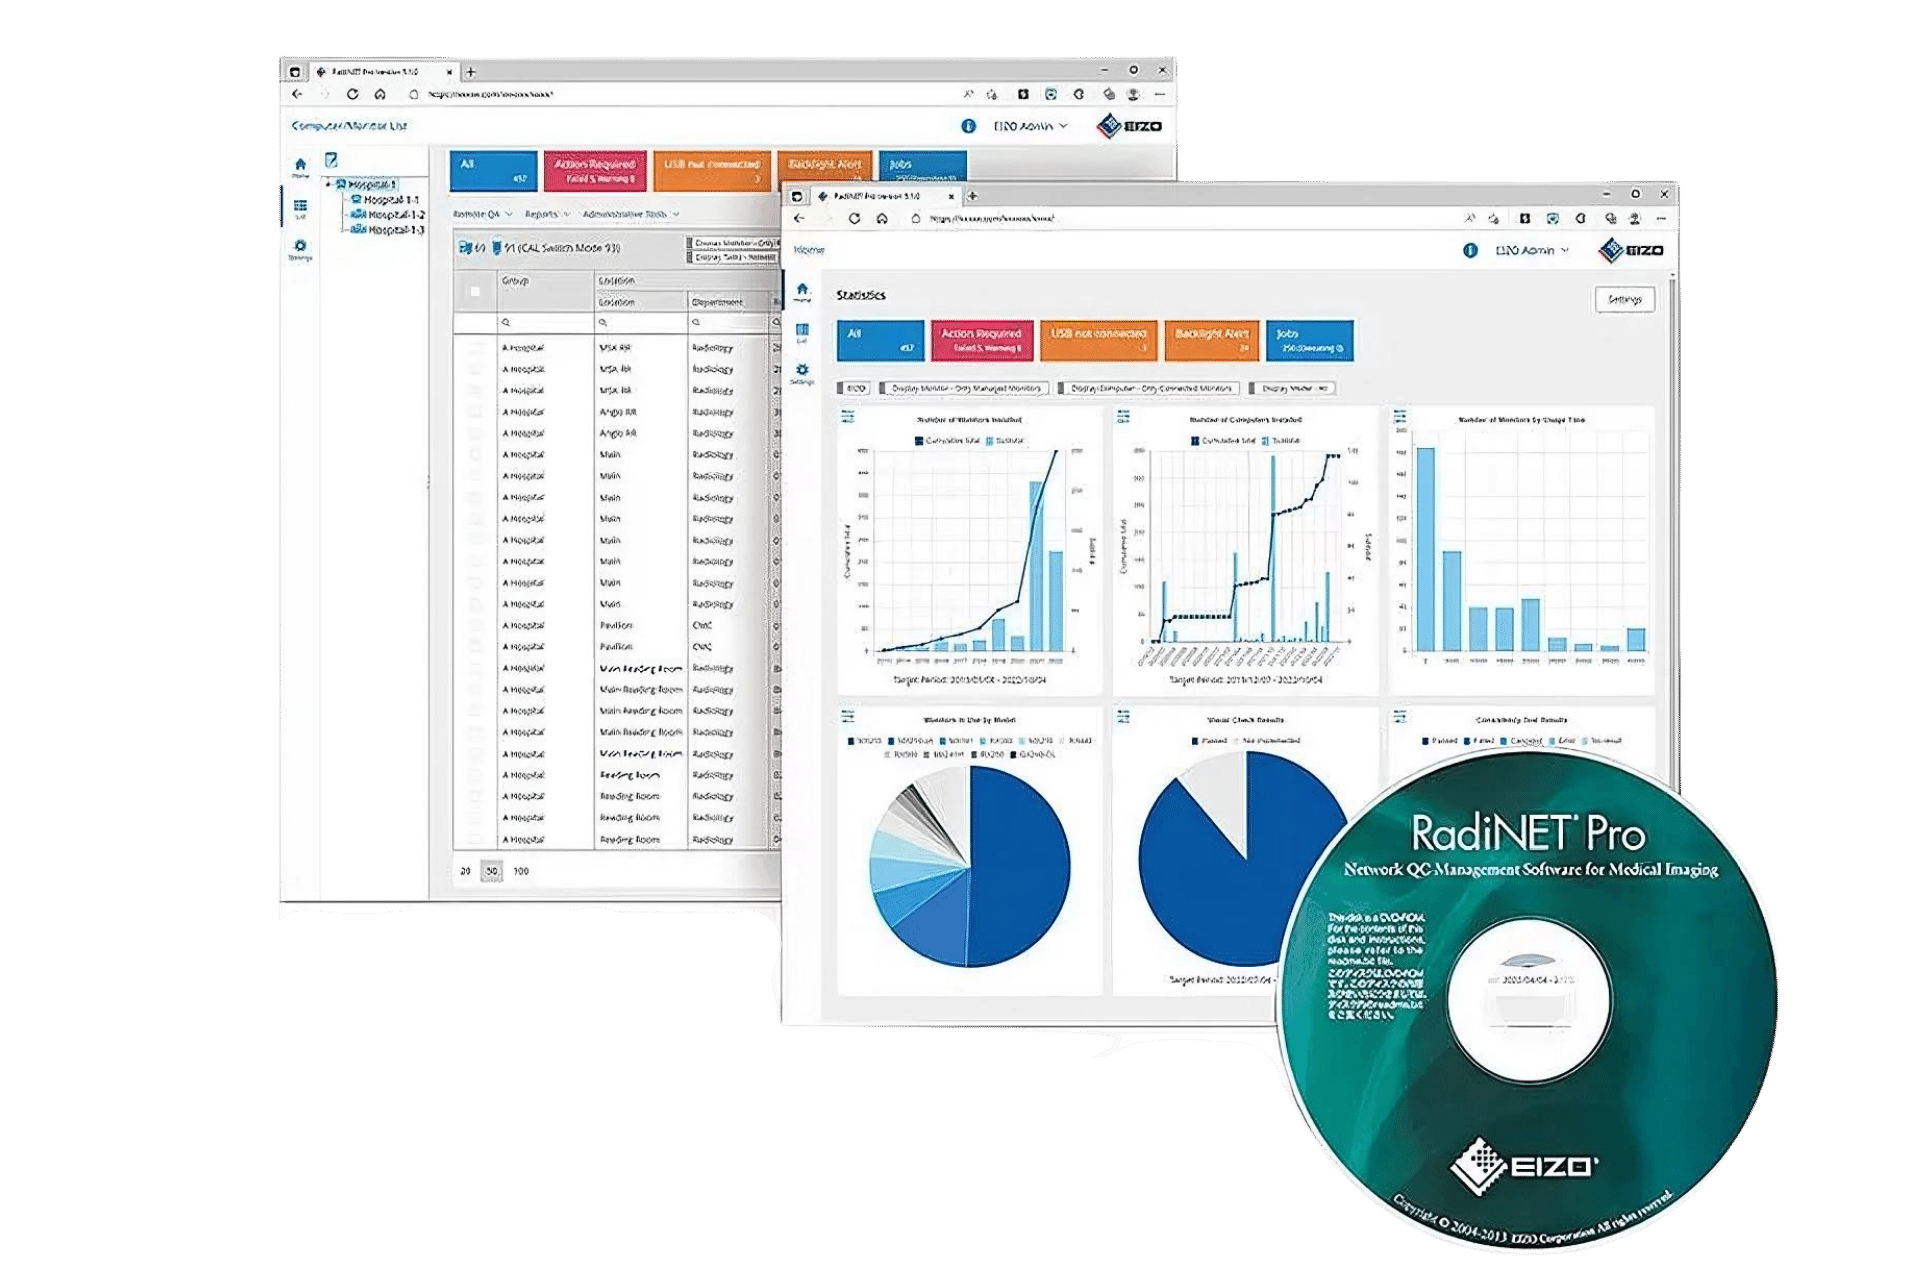
Network QC Management Software
EIZO software for network-based quality management in large facilities – with remote functionality for monitors.

Monitor Quality Control Software & Calibration Sensor
The RadiCS software provides extensive validations and automatic adjustment to ensure constant and consistent image reproduction on all RadiForce screens.
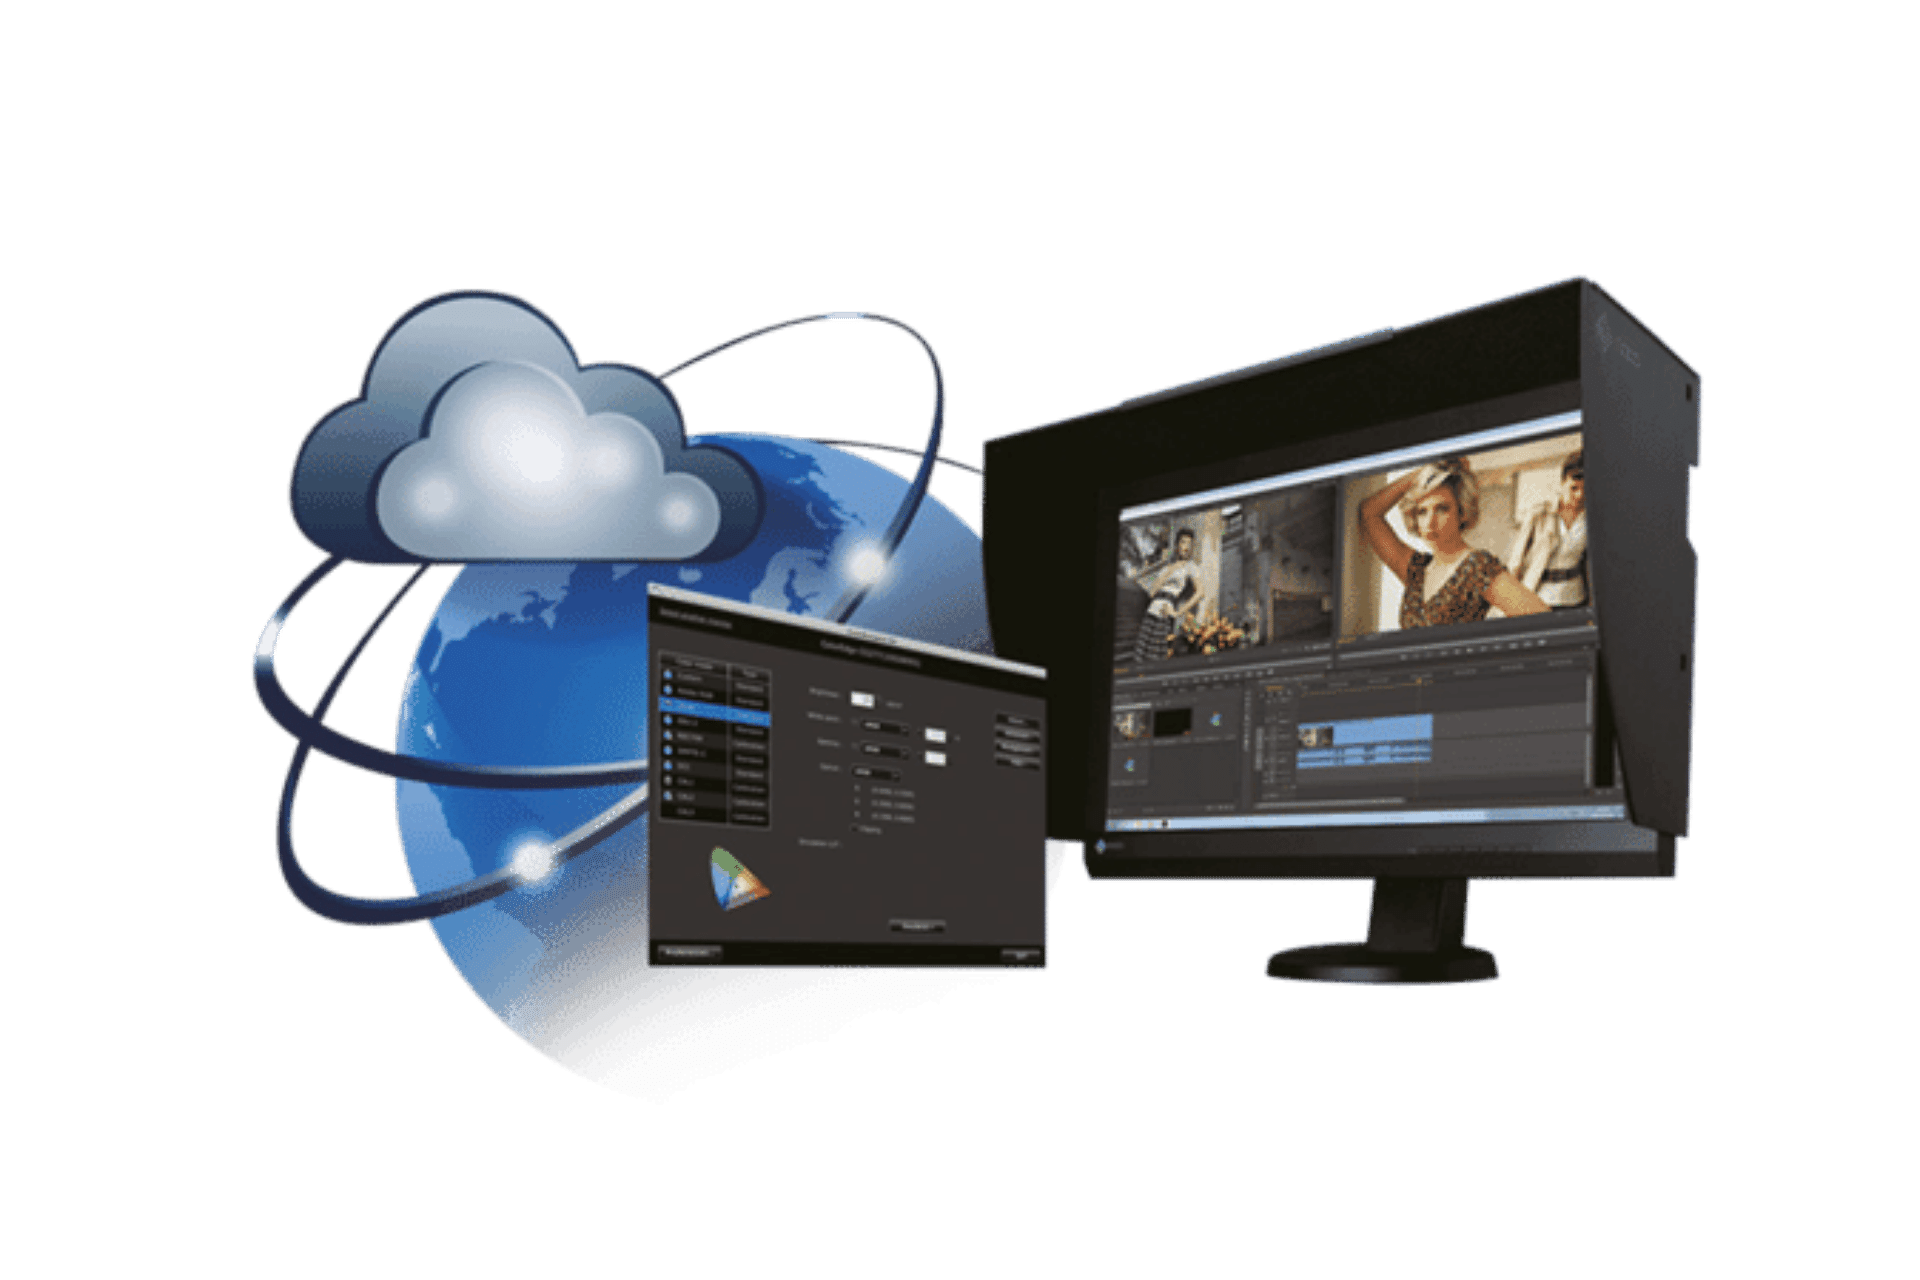
Network Colour Management Software
ColorNavigator Network enables centralized quality assurance for ColorEdge monitors with ColorNavigator 7.
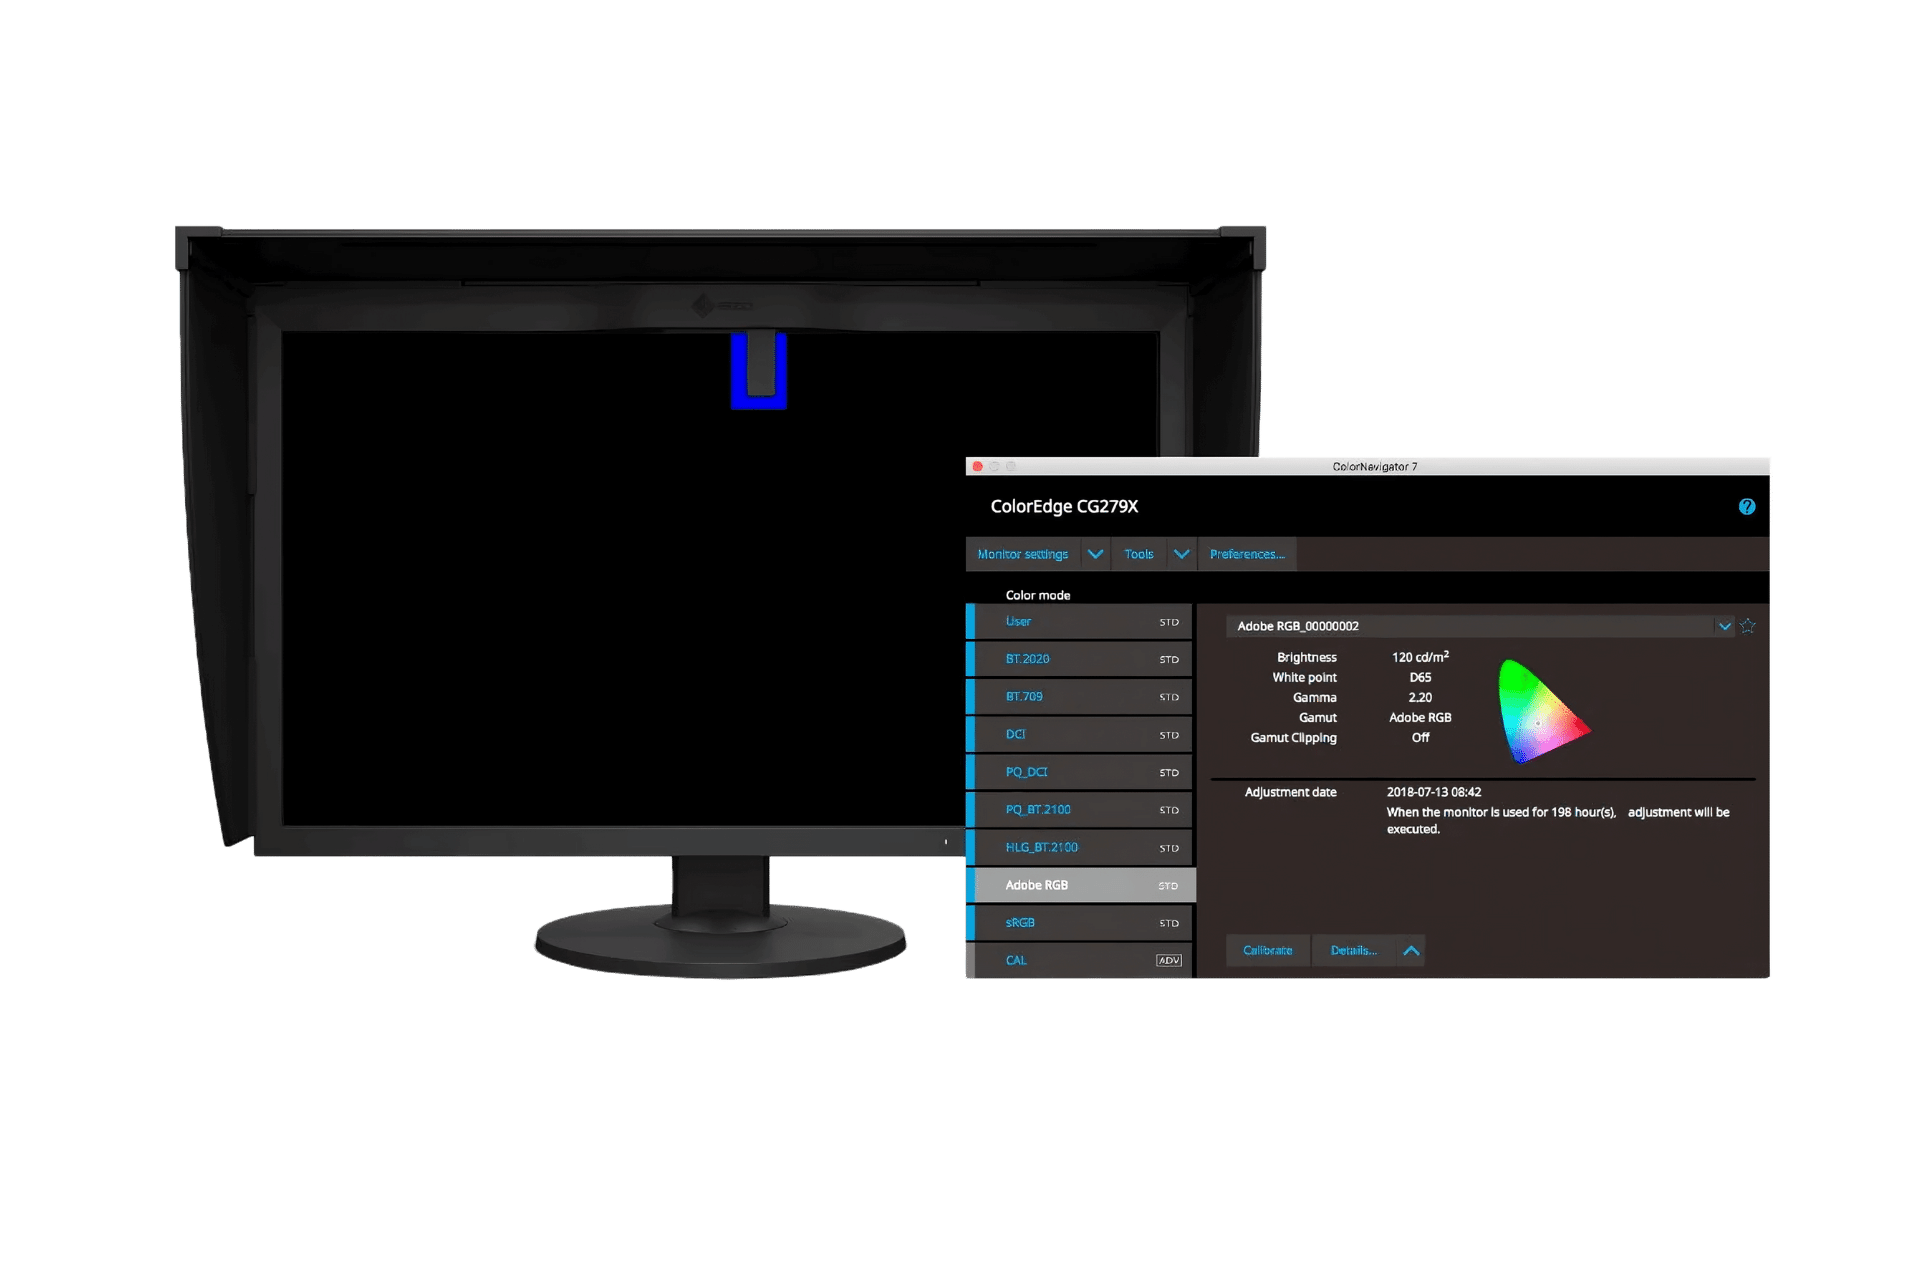
Colour Management Software
Complete colour management software solution for reliable calibration and quality control management of ColorEdge monitors.
Easy Screen-to-Print Color Matching Tool
Quick Color Match greatly simplifies the colour-matching process by automatically adjusting to EIZO's recommended monitor, retouching software, and printer settings. Simply drag and drop your photo and begin retouching and printing with no hassle.
Monitor Series
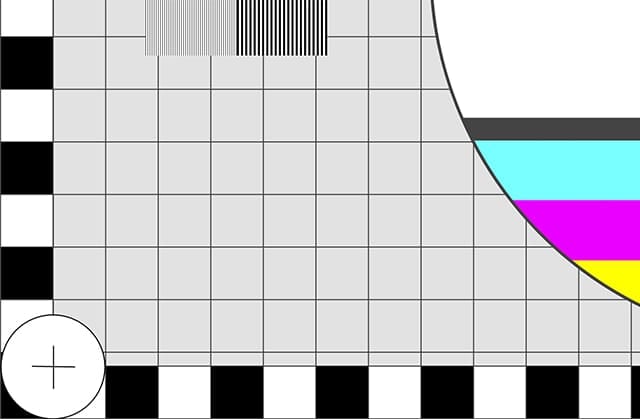
The EIZO monitor test consists of various test scenarios that your monitor can handle to a greater or lesser extent, depending on the model. For example, gaming monitors are distinguished by particularly short response times, whereas graphic monitors impress with a particularly homogenous image display and smooth gradients.
You should therefore always assess your monitor within the context of its respective device category. For this reason, please note the manufacturer specifications (especially for the defective pixel test). It is recommended that you carry out the monitor test in a dark room. This allows you to precisely assess even dark image areas.
Preparation for Monitor Test
In order to ensure meaningful test results, your monitor should already be warmed up prior to testing (ideally for 30 minutes). You should also clean the display prior to testing, since reflected light could cause dust particles to look like defective pixels.
10-BIT set-up and test
Is your system capable of displaying 10bit simultaneous colour on screen?
Hardware
- Monitor: Must be a ColorEdge CGX, CG, CS. More recent ColorEdge monitors will display 10-bit on screen if a 10-bit signal is being output from your computer via your video (graphics) card. You can confirm this by navigating to the SIGNAL section of the monitor’s OSD.
- Mac: check your System Report:
About this Mac > Overview > System Report > Graphics/Displays
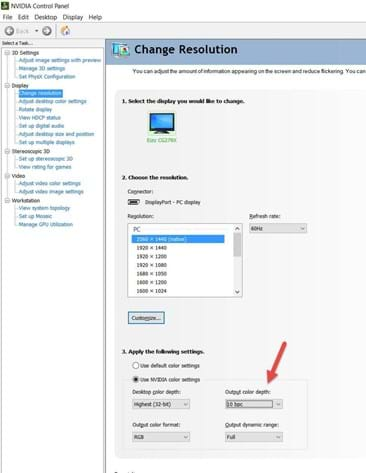
Framebuffer Depth: 10-bit = 30-bit colour (8-bit = 24-bit colour) - Windows: Set your graphics card driver to 10-bit output first, reboot, then check the SIGNAL settings via your EIZO’s OSD buttons to ensure the monitor is receiving a 10-bit signal. Here’s how (NVIDEA example below, click HERE for ATI / AMD instructions on the EIZO GLOBAL site).
For working in 10-bit mode in Photoshop
There are two types of 10-bit video that can be a bit confusing: 10-bit video at the OS level and OpenCL 10-bit in Photoshop. To ensure everything functions properly, both must be set to 10-bit. Below are the instructions for Photoshop.
Photoshop
Before you embark on this, please be aware that some Photoshop functionality (various layers & filters) are not optimized for 10-bit display so Photoshop will silently revert to 8-bit. There is no place in Photoshop that states whether you are viewing 10-bit or 8-bit on screen (as at July 2019)
- Select “30-bit Display” in Advanced Graphics Processor preferences.
- Re-boot and check Advanced Graphics Processor is still set to 30-Bit Display
- Download and open the 10-BIT TEST file as well as the 8-BIT TEST file below (more instructions on what to do with this later)
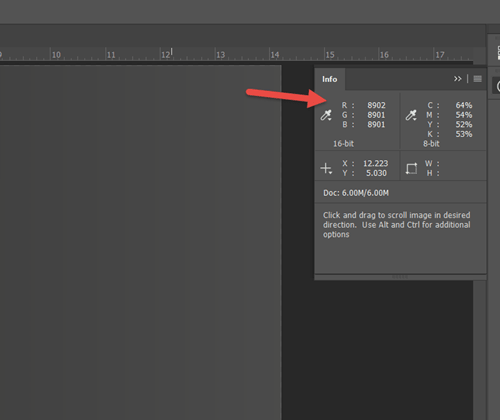
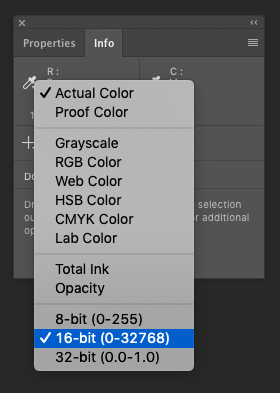
- Ensure the info panel RGB is set to 16-bit (right-click on eye dropper icon) per below:
Download and open both the 8-bit and 16-bit gradient TIF files in Photoshop and compare side by side. There will not be a dramatic difference, although the 16-bit file will appear slightly smoother.
Special thanks – some excerpts taken from 10 bit output support article: imagescience.com.au
Environmental Commitment
EIZO strives to contribute to the sustainable development of our society by being conscious of the impact our business has on the environment.